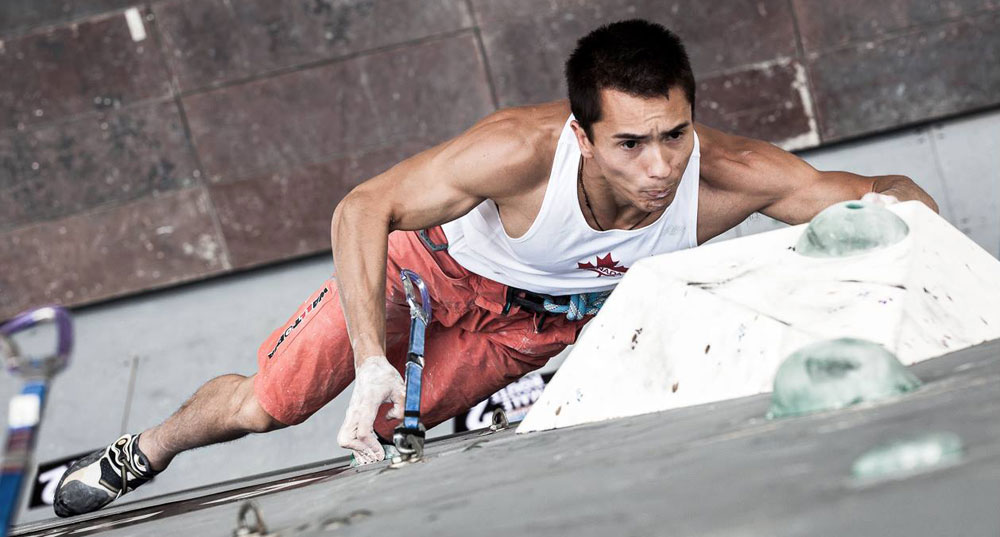
Photo by Sam Challeat.
Squamish Climbing Magazine had the chance to catch up with Sean McColl on a topic that we know he is all too familiar: Campus Board Training.
The following is an article written by Sean McColl.
So, you’ve just started climbing, you can climb V1, and looking to do some non-wall training. You see those people go on the campus board but it scares you; it’s ok, those people started off being as weak as you are now. To start, the campus board is a training tool. Like any training tool, misuse of it can cause injury. The campus board is unforgiving and should be used carefully. Take it slowly and remember it’s not always the smallest rungs or the biggest pulls that are the most beneficial.
I will structure this article into two different lists. The first list (the one that is numbered 1, 2, 3, etc.) should be done as a series. Before moving on to the next exercise, you must complete the one before. The second list (the one listed a, b, c, etc.) and can be done in parallel with the first list.
For Beginners:
1) Two Handed Hang
-choose a grip (a.) and use both hands to deadhang, straight arms
-5 seconds, you can move on. I usually say if you can do 15 seconds, you can drop off
2) Pull Ups
-using the same rung, do pull ups
-move on when you can do 4-5 pull ups
3) One Rung Campus
-campus left hand up, then back down. right hand up, then back down
-move on when you can do this 3 times each arm
4a) Rung Campusing
-campus left/right and keep incrementing how far you go up the campus board
4b) Skipping Rungs
-depending on how close your lats are spaced, you might want to try and skip one and grab the second (twice as far).
Before you go into the intermediate part, try to be comfortable on the lats. The easiest way to injure yourself is by pushing too fast. For example, after my off-season, when I start campusing again, I often start on the biggest lats for one week before moving to the medium ones. Then, I use the medium lats for another week and finally move to the small lats.
Intermediate:
This isn’t so much a seperate category from the other but rather an extention. A lot about progressing on the campus board is going from one rung size to another or increasing the distance campused. I’ll write down a few suggestions to further complete your campusing experience. These don’t necessarily have to be done in series.
1) Leg Momentum
-keeping your legs motionless will increase difficulty
2) Hip position
-hardest hip technique is to be motionless while campusing
-easier if you rotate your hips back and forth
a) Grip: Of the 3 standard grips, everyone will generally have a strongest. Work on this one until you’re comfortable with the exercises
-3 fingers gecko style; pointer, middle and ring fingers
-4 fingers open crimp; all fingers with thumb tucked in behind the hand
-5 fingers closed crimp; all fingers with thumb over pointer finger
b) Motion:
-static; much harder to do, involves moving very slowly between positions
-dynamic; uses momentum from legs and hips to generate movement of your upper body
c) Hanging:
-deadhang; arms straight but shoulders engaged
-90 degree; as it implies, elbows at 90 degrees
-locked off; face at the same height as your hands
In wrap-up, remember that the campus board can be used in conjunction with dead hangs. Getting strong at deadhangs will help you with campus board. You can do the 3 different hangs on different types of grips. If you get really good at them, try again with only one arm 🙂
Sean is currently sponsored by Mammut, La Sportiva, Walltopia, Joe Rockheads, Clif Bar, and Scratch Labs.


